On a shoestring in a shoebox.

1234
1234

|
Chris Waite |
Re: On a Shoestring in a Shoebox.
|
|
|
|
BrianP |
Re: On a Shoestring in a Shoebox.
|
|
|
|
Nesting Ray. |
Re: On a Shoestring in a Shoebox.
|
|
|
|
Nesting Ray. |
Re: On a Shoestring in a Shoebox.
|
|
|
|
Nesting Ray. |
Re: On a Shoestring in a Shoebox.
|
|
|
|
Port-Na-Storm |
Re: On a Shoestring in a Shoebox.
|
|
|
|
Nesting Ray. |
Re: On a Shoestring in a Shoebox.
|
|
|
|
Paul H (admin) |
Re: On a Shoestring in a Shoebox.
|
|
|
|
Nesting Ray. |
Re: On a Shoestring in a Shoebox.
|
|
|
|
momist |
Re: On a Shoestring in a Shoebox.
|
|
|
|
Paul H (admin) |
Re: On a Shoestring in a Shoebox.
|
|
|
|
Port-Na-Storm |
Re: On a Shoestring in a Shoebox.
|
|
|
|
Chris Waite |
Re: On a Shoestring in a Shoebox.
|
|
|
|
Nesting Ray. |
Re: On a Shoestring in a Shoebox.
|
|
|
|
Chris Waite |
Re: On a Shoestring in a Shoebox.
|
|
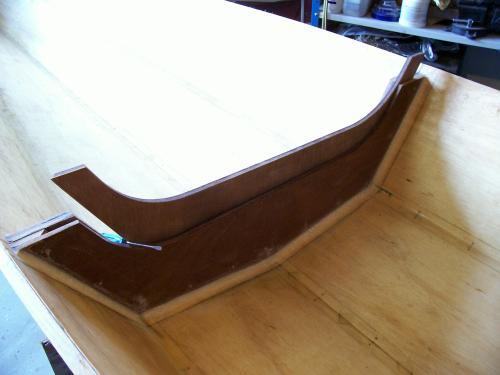
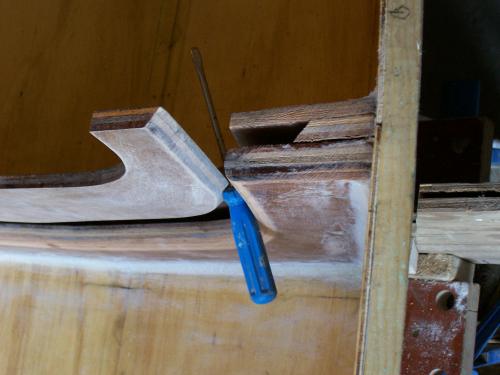
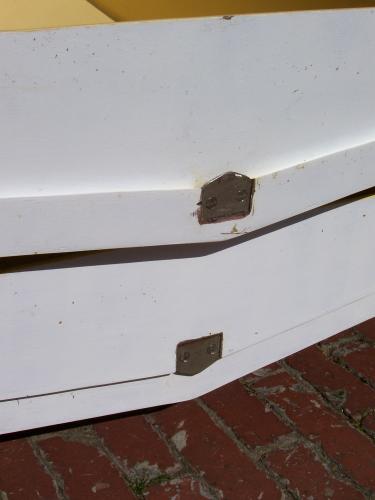
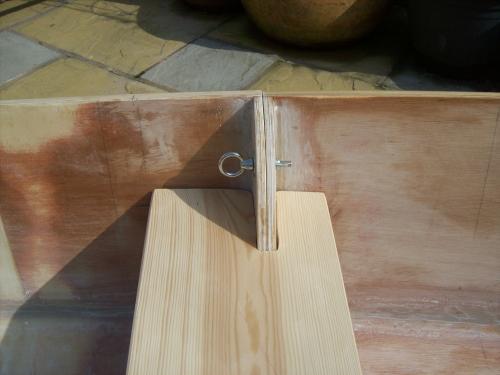
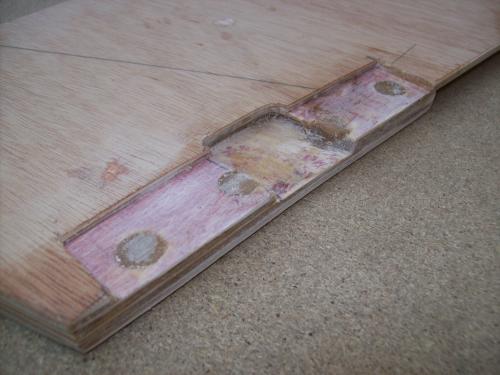
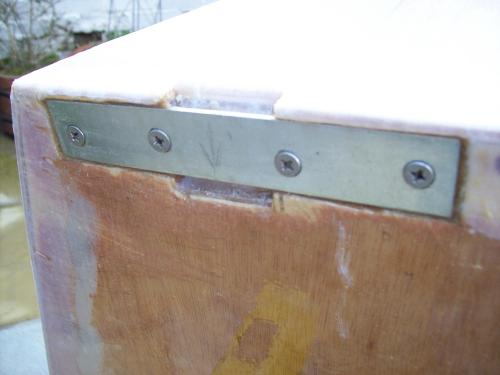
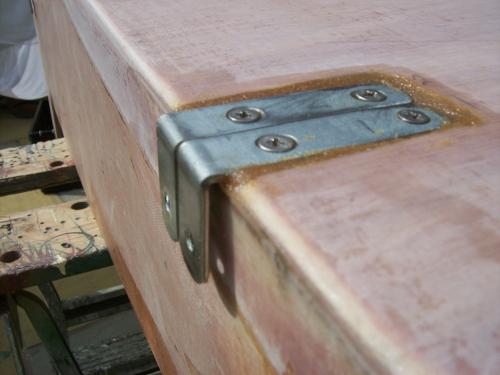
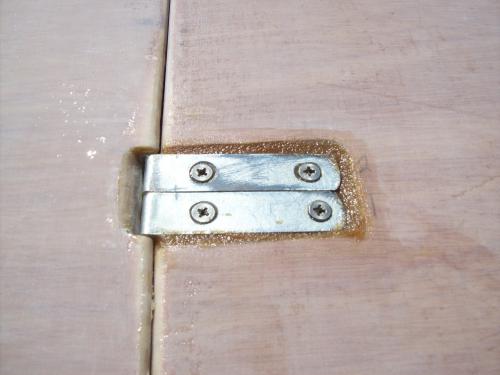
 ....here are the halves of the boat, one laid on top of the other, to show both clips; stainless-steel pointy plates through bolted with penny washers the other side.
|
|
Nesting Ray. |
Re: On a Shoestring in a Shoebox.
|
|
|
|
Chris Waite |
Re: On a Shoestring in a Shoebox.
|
|
|
|
Nesting Ray. |
Re: On a Shoestring in a Shoebox.
|
|
|
|
Chris Waite |
Re: On a Shoestring in a Shoebox.
|
|
|
|
simplesimon |
Re: On a Shoestring in a Shoebox.
|
|
| Free forum by Nabble | Edit this page |