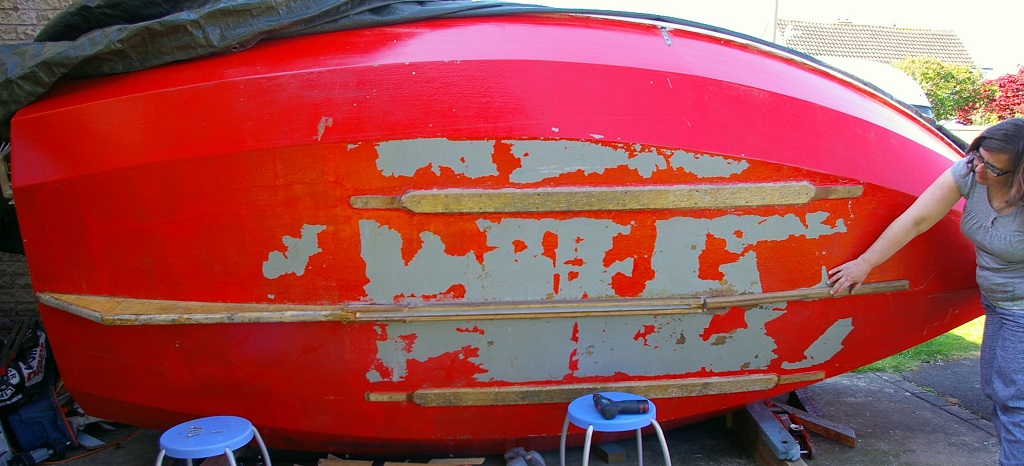
MilliBee with a haircut?

1 ...
121314151617
1 ...
121314151617

|
Nesting Ray. |
Re: The Victory Roll...
|
|
|
|
Chris Waite |
Re: The Victory Roll...
|
|
|
|
Paul H (admin) |
Re: The Victory Roll...
|
|
|
|
alopenboat |
Re: The Victory Roll...
|
|
|
|
Paul H (admin) |
Re: The Victory Roll...
|
|
|
|
Paul H (admin) |
Re: The Victory Roll...
|
|
|
|
momist |
Re: The Victory Roll...
|
|
|
|
Timmo |
Re: The Victory Roll...
|
|
|
|
Port-Na-Storm |
RE: The Victory Roll...
|
|
|
|
Chris Waite |
RE: The Victory Roll...
|
|
|
|
Paul H (admin) |
RE: The Victory Roll...
|
|

|
|
Port-Na-Storm |
RE: The Victory Roll...
|
|
|
|
Paul H (admin) |
RE: The Victory Roll...
|
|
|
|
Paul H (admin) |
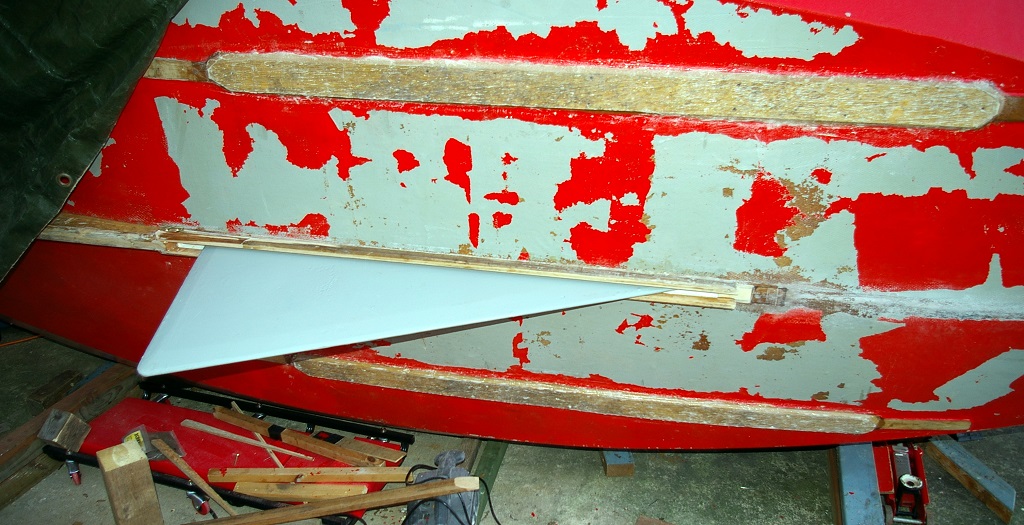
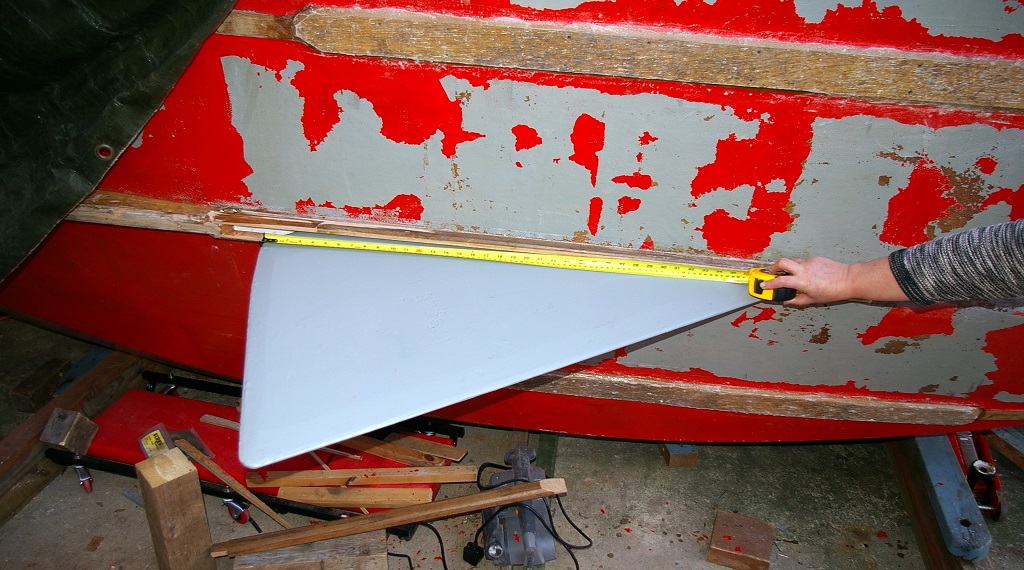
But does the board fit?
|
|

|
|
Chris Waite |
Re: But does the board fit?
|
|
|
|
Port-Na-Storm |
Re: But does the board fit?
|
|
|
|
Paul H (admin) |
Re: But does the washboard fit?
|
|
|
|
Port-Na-Storm |
Re: But does the board fit?
|
|
|
|
Timmo |
Re: But does the board fit?
|
|
|
|
Paul H (admin) |
Re: But does the washboard fit?
|
|


| Free forum by Nabble | Edit this page |