MilliBee with a haircut?

1 ...
45678910
... 17
1 ...
45678910
... 17

|
Paul H (admin) |
Jig for Jig Saw
|
|
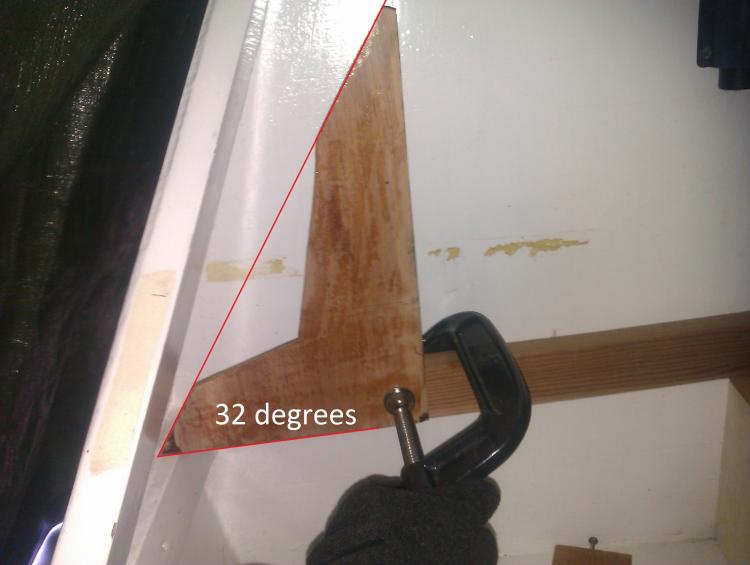
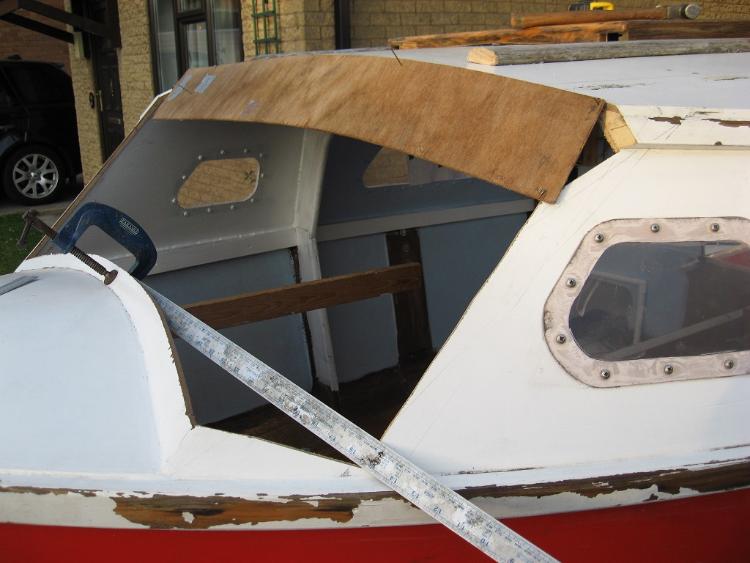
 )....that will be a reliable 90 degrees. Some simple trigonometry gives the base width and height of a triangle with the required 32 degree angle...all good so far but how do I hold the triangle in the right place?
|
|
Paul H (admin) |
Re: Jig for Jig Saw
|
|
|
|
Paul H (admin) |
Re: MilliBee with a haircut?
|
|
|
|
Chris Waite |
Re: MilliBee with a haircut?
|
|
|
|
Paul H (admin) |
Re: MilliBee with a haircut?
|
|
|
|
David Bewick |
Re: MilliBee with a haircut?
|
|
|
|
Chris Waite |
Re: MilliBee with a haircut?
|
|
|
|
Paul H (admin) |
Re: MilliBee with a haircut?
|
|
|
|
Port-Na-Storm |
Re: MilliBee with a haircut?
|
|
|
|
Paul H (admin) |
Re: MilliBee with a haircut?
|
|
|
|
Port-Na-Storm |
Re: MilliBee with a haircut?
|
|
|
|
John P |
Re: Jig for Jig Saw
|
|
|
|
Paul H (admin) |
Re: MilliBee with a haircut?
|
|
|
|
Chris Waite |
Re: MilliBee with a haircut?
|
|
|
|
Timmo |
Re: MilliBee with a haircut?
|
|

|
|
Paul H (admin) |
Re: MilliBee with a haircut?
|
|
|
|
Port-Na-Storm |
Re: MilliBee with a haircut?
|
|
|
|
David Bewick |
Re: MilliBee with a haircut?
|
|
|
|
Jeremy |
Re: MilliBee with a haircut?
|
|
|
|
Paul H (admin) |
Re: MilliBee with a haircut?
|
|
| Free forum by Nabble | Edit this page |